Creating a Published Report
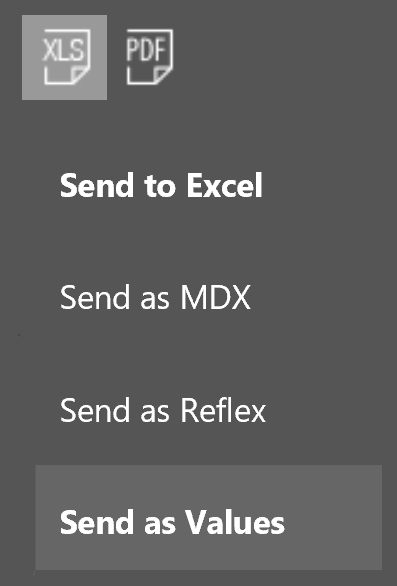
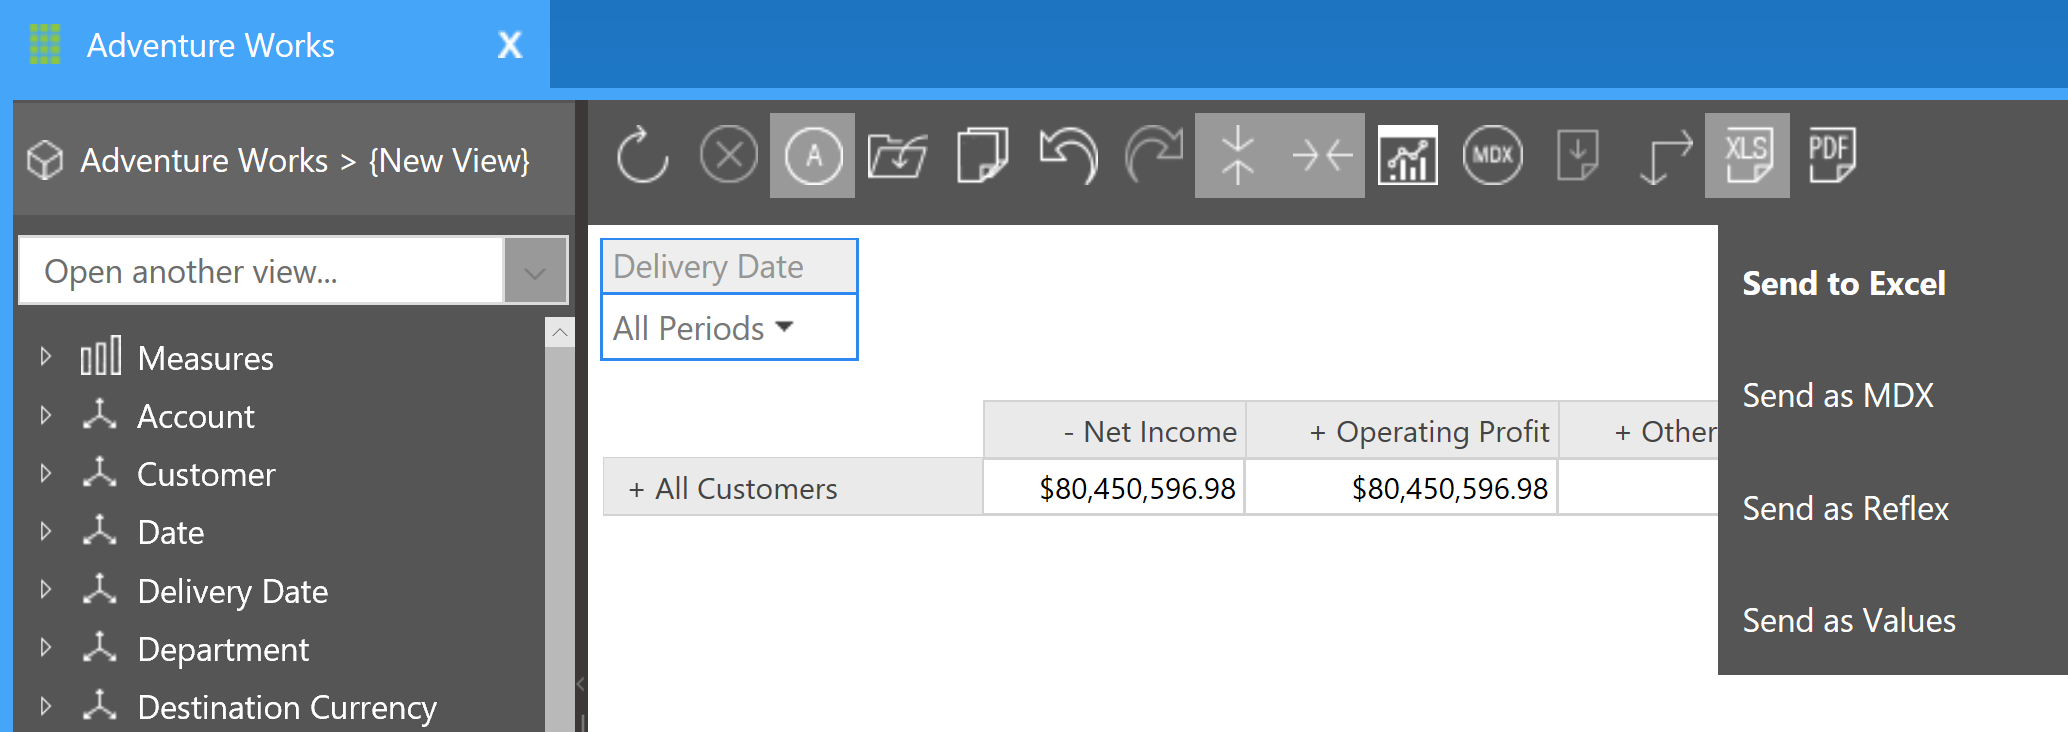
The simplest way to create a report using CALUMO is to begin by creating a data view populated with the data you want to use as the foundation for your report, and then send it to Excel for formatting and publishing. Once a view has been created that is occupied by the data you would like as the foundation for your report you can send these to excel in four ways. The toolbar functions offered within CALUMO data explorer allow you to send your data view as a formatted spreadsheet; containing simple CALUMO CGET formulae, more complex CGETMDX formulae, as reflex or containing values with no underlying cube information (no CGETs) so that users without CALUMO can view the report. After selecting the excel spreadsheet icon these options will appear, as reflected in the image below.
Info
To enjoy a seamless Send to Excel experience, it is best to adjust the settings in your browser to open Excel files automatically. For Internet Explorer users this involves altering advanced settings within settings, whereas for Chrome users it involves moving through settings to privacy, and then altering automatic downloads settings which appear under privacy.
Data views (view) are the dimension orientation and member selections you have created and saved within a cube in a data explorer session. These are simply the organisation and look of your cube browser window and are different from reports. A view may be seen in the data explorer tree offered whilst users are in data explorer only if the CALUMO Administrator has made the view public (only administrators are able to make a report or data view public).
For information on creating a data view, please see The Data Explorer page and the child pages tabbed beneath it.
Sharing a view
Users may share their view with another by providing the direct URL of the View. The actual data that can be viewed is determined by the user’s security level in Analysis Services. If you are not an administrator this is the only way that you can share a view with another user. If you have a view or report opened in a CALUMO tab you can utilise the CALUMO tab options in order to send the URL to another person via email. The toolbar options which appear by hovering over the tab heading that you are looking at offer an email button that appears as a letter symbol. When selected this allows you to send an email (using your default email client, if installed and set up) with the URL of the tab selected as the body text of the email. For more information of the functions of the toolbar for CALUMO tabs please visit Using CALUMO Tabs.
As an administrator views may be shared by making them public. After a view is made public it will appear on the data explorer tree that appears when you open the data drawer.
Sending to excel
Send to excel function
As discussed earlier, using the Send to Excel function allows you to create editable, publishable reports that will maintain links to the data cube allowing updated data to be seamlessly added to your report as it is added to your data catalog or cube.
When you select the Send to Excel function in CALUMO, your view is written to an Excel workbook on the server and then sent to you as a download in your browser. This enables you to format and edit your report: hide the headers, change colours and fonts, and customise it using your previous knowledge of Excel, using standard Excel functionality.
As seen in the image on the left, send to excel sends your data as CGET and CMEMBER formulae, opening a workbook populated by CGET and CMEMBER formulae for your data. These formulae are instructive as to where the data is stored and sourced from. As seen in the image, CGET and CMEMBER Formula follows the format CGET (Datasource,Catalog, Cube, Datarange).
Send as MDX
Selecting Send as MDX uses Analysis Services MDX syntax to provide a link to the data. Sending a view to Excel as MDX adds flexibility by providing access to the power of MDX.
As seen in the image on the left expanding the top and left offset in a report that has been sent to excel as MDX will reveal the arguments for each of the cells. As seen from the selected cell, selecting a cell will reveal a CGETMDX formula with information relating to its datasource and catalog.
Send as Reflex
Selecting Send as reflex will open a workbook populated by your data formatted with single MDX queries. Depending on the data selected, your report will expand and contract depending on the data required, hence reflexive. Send as reflex also allows you to add formatting rules for your chart e.g. fill colour, shading etc. This enables you to produce consistently formatted reports that are updated dynamically.
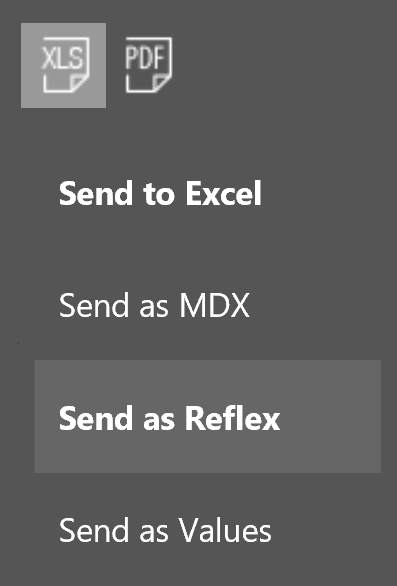
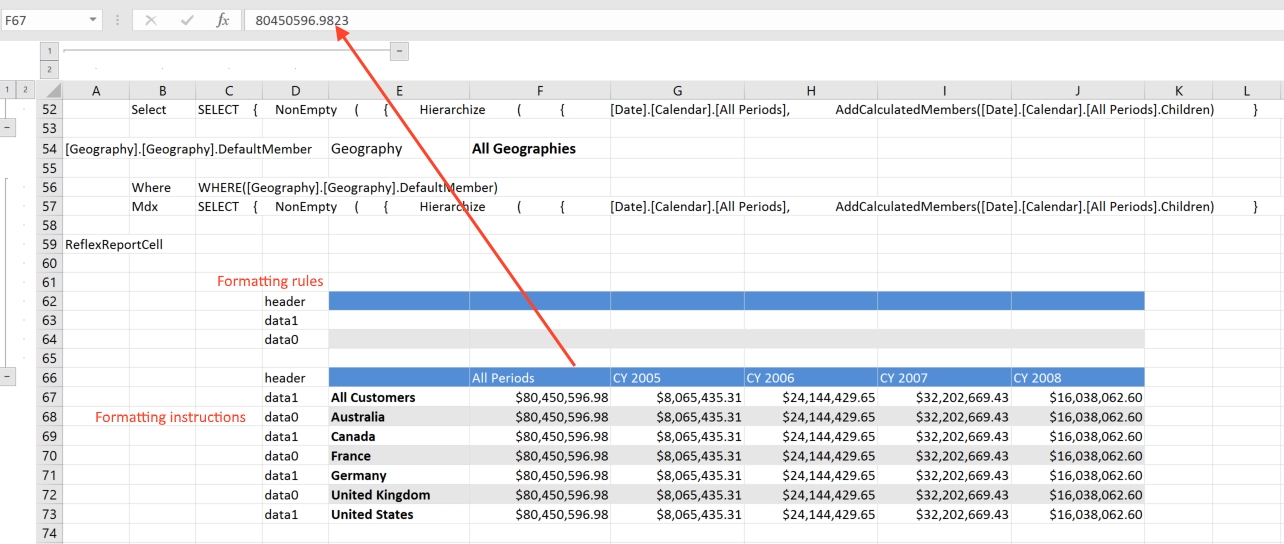
Expanding the left and top offset will allow you to see the context for your data. For reports that have been sent to excel as reflex, you may find that they have a reference table with formatting instructions. You can add more than one reference table for great amounts of formatting instructions. A value in the reference table that matches a value in the same row of the report will copy the format from the reference table to your report. As seen in the image to the left the format area has been used to create formatting rules that dictate the shading for the report. In the left offset area, a formula has been added to determine whether the row is even (unshaded) or odd(shaded). This is your formatting rule for each row. In the format area, use the Excel formatting tools to format your rows in the style you wish (bold, italic, blue, purple, etc). As seen in the image on the left when a cell is selected it appears as though it has been sent as values. As using the CREFLEX formula relates to more advanced reporting refer to (insert link after more is written on advanced reporting).
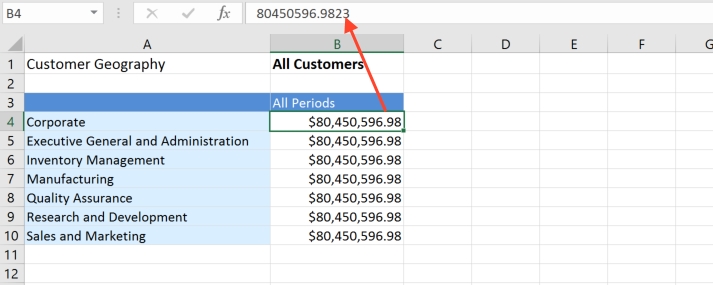
Send as Values
Selecting Send as Values opens a formatted Excel spreadsheet containing only values - without any underlying cube information, allowing non-CALUMO users to view a report. This function can also be used once a report has been created. This function may be useful if you would like a non-CALUMO user to have access to a report after changes have been made to slicers or axes as member selectors do not appear for non- CALUMO users due to the lack of access to CALUMO formulae. As can be seen in the image below, selecting Send as Values removes the options on the top and left of your workbook allowing you to expand out information relating to your data source, catalog and slicers that have been selected. This is because using this function does not carry over any underlying cube information.