Create a New Application Pool and Assign it to CALUMO
Open the IIS Management Console on your CALUMO Server and navigate down the tree on the left to Application Pools.
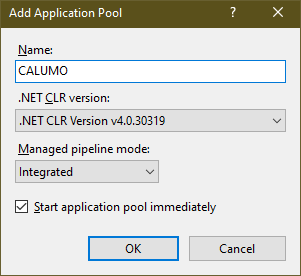
Select “Add Application Pool..” from the actions on the right hand side and setup an application pool like in the example below and press OK when done.
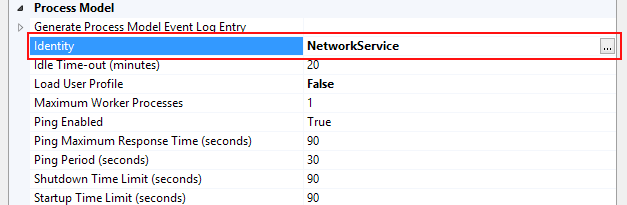
Now we need to configure the application pool, so select it from the list, right click it and choose Advanced Settings. Find the item in the Process Model section called Identity and after selecting it, press the button with the three dots on it as per the image below
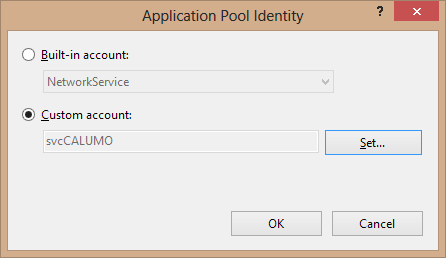
This will show you a dialog that will let you enter the credentials for the service account with which you want to run the application pool. Once you have set the credentials, OK your way back out to the IIS Management Console
Now that your new application pool is created, you need to assign it to your CALUMO web application, so, navigate down the left hand side until you get to it and right click on it and choose Manage Application > Advanced Settings
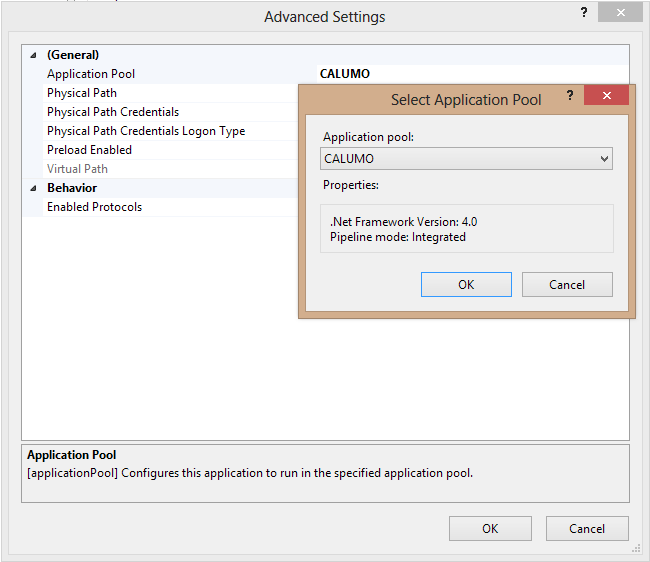
From here, click on Application Pool and then the button with the dots on it on the right and the following dialog will appear where you can select your application pool.
OK your way back out to the IIS Management Console and you are now finished create a new application pool and assigning it to your CALUMO web application.